In this tutorial, I’m going to show you how to add a smooth, sliding logo carousel to your website.
You’ve likely seen this kind of section on many sites before, where logos glide seamlessly across the screen in an infinite loop.
It’s a great way to add credibility to your site without having the logos take up too much space.
You can also use the same technique to loop other images as well – it doesn’t need to just be logos.
I actually used this ticker to loop some text on my wedding website to give it more visual appeal.

And the best part? It’s simpler to implement than you might think. At least once you’re aware of the couple ‘gotchas.’
Let’s break it down.
Prerequisites
I’m using Bricks Builder for this tutorial, but it should work for most site builders out there.
Especially if it outputs clean HTML code.
If your builder outputs a ton of wrappers, then it might take some adjusting.
Resources For This Tutorial
If you’d like a copy of the sample logos so you can play along with the tutorial, you can download them here.
Setting Up Your Ticker
1. Insert a New Section
Add a new section where you want your ticker to appear.
Since we want the logos to scroll edge-to-edge, remove any inner containers to allow the logos to extend full width.
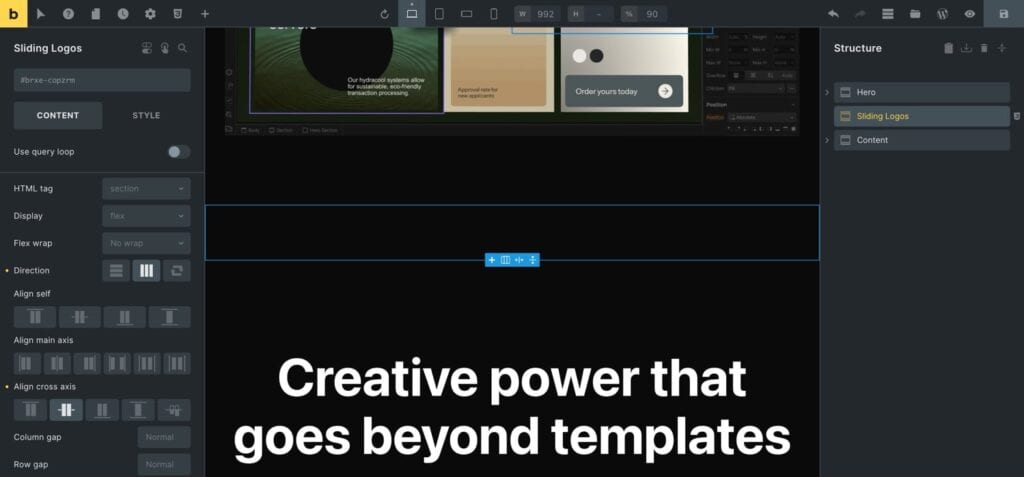
2. Adjust Section Settings
We’re going to add a couple of tracks to this section, and we want them to be positioned side-by-side horizontally.
Change the section’s display to flex, and set flex-direction: row and align-items: center.
3. Create the Ticker Track
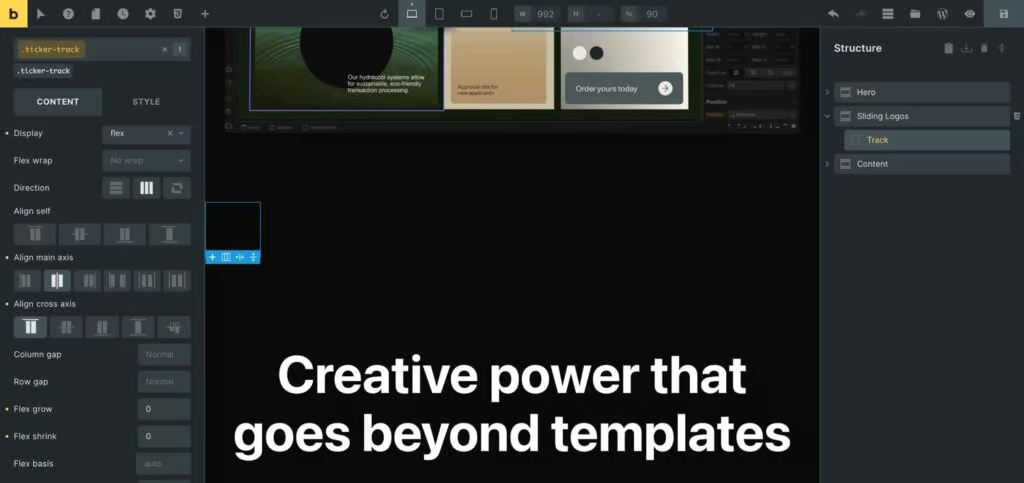
Add a div inside the section, and give it a class of ticker-track.
Here we want the logos to start at the beginning of the track, and be vertically centered to accommodate any differences in logo height.
Set this div to flex, flex-direction: row, aligns-items: center, and justify-content: flex-start.
Make sure that there’s no max-width already set on the div.
Bricks Builder sets a max-width: 100% to all elements by default, which is not what we want.
So we’re going to override it with max-width: unset.
Bricks also sets a couple default flex values. We want to make sure both flex-grow and flex-shrink are set to 0.
4. Add Your Logos/Images
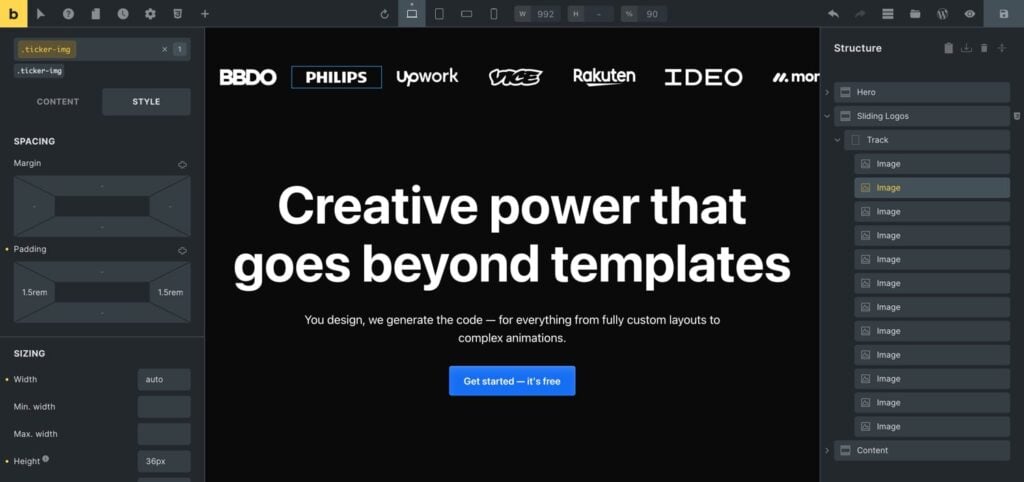
Insert your logos within the track div.
Apply a class of ticker-img to each.
Set width: auto, and give the images a height. I set it to 36px in this example.
You’ll want to add left and right padding to the images as well to space them out.
Normally I’d want to do this with a gap on the parent element, but it will create some jitter when the track repeats. So just stick with padding in this case.
Lastly, make sure your images aren’t lazy-loaded.
If they are, the track width will change as images get loaded in, and you’ll spend an hour wondering why your animation isn’t quite working.
5. Duplicate the Track
Once all your logos are in place, duplicate the track div.
This ensures a seamless loop.
6. Hide Overflow on Your Section
At this point, you should be able to visually see two sets of logos sitting horizontally across your screen.
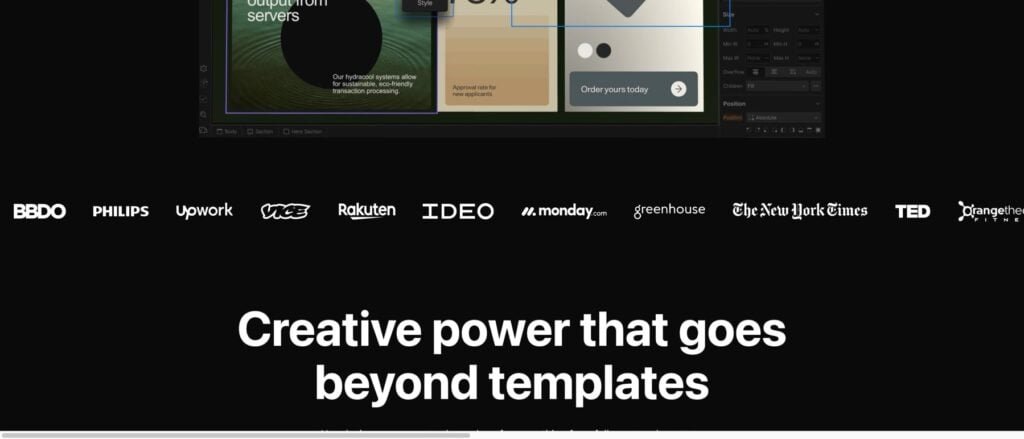
If you’re happy with how everything looks, we can hide the overflow on our section so that the page doesn’t have a horizontal scroll.
Select the section you created in step 1, and set overflow: hidden.
Method 1: Animating the Ticker Using Plain CSS
1. Create a CSS Animation
Add the following CSS to your page:
@keyframes ticker {
  0% {
    transform: translateX(0%);
  }
  100% {
    transform: translateX(-100%);
  }
}
2. Apply Animation to Track
The last step is to simply apply the animation to our tracks.
.ticker-track {
  animation: ticker 30s linear infinite;
}
Play around with the timing, as that will increase/decrease the speed at which your logos scroll across the page.
And that’s it! You should now see the logos scrolling across your page.
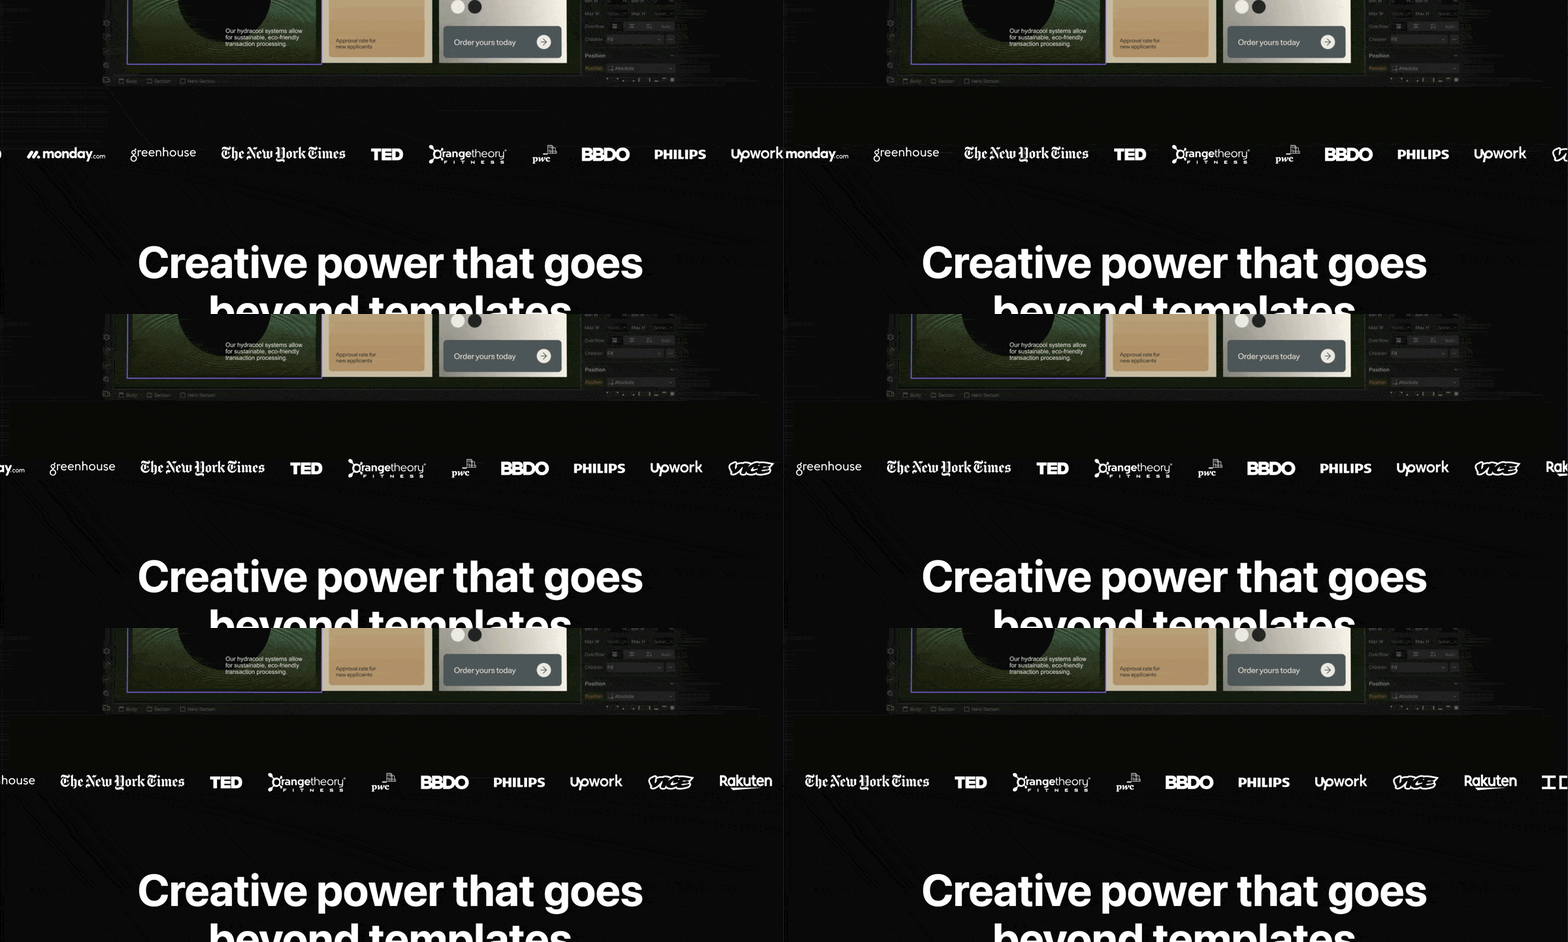
Method 2: Animating the Ticker Using Motion.page
If you’re already using an animation plugin like Motion.page, you might decide you want to keep all your animations in one spot.
In general, the CSS method above will be more performant, but it won’t really make a difference if you’re already using Motion.page on that specific page.
1. Create a Timeline
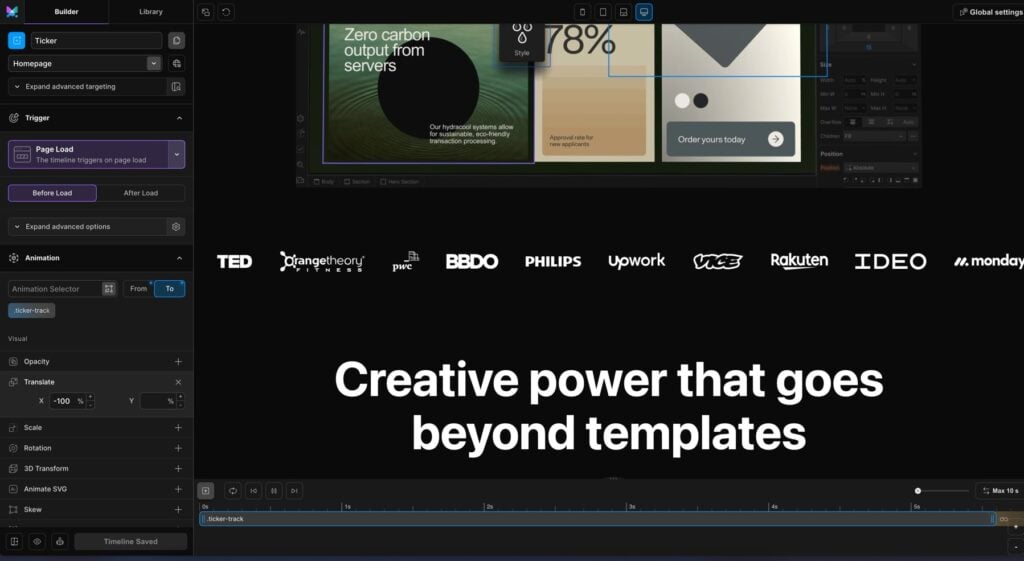
In Motion.page, create a new timeline named “Ticker” and input .ticker-track as the target selector.
2. Configure Animation
Just like with CSS, set your animation from translateX(0%) to translateX(-100%), set the repeat to -1, and set the Ease to None.
Finally, adjust the animation’s duration as needed to achieve the desired speed.
Wrapping Up
And there you have it—a silky smooth, infinitely sliding logo carousel for your website.
That was pretty easy, right?
If you found this tutorial helpful, I’d love to have you join my newsletter.
I share more tutorials like this, along with my insight on everything happening in the WordPress and web design community.
That’s all for today.
Let me know in the comments below if you found this tutorial helpful!


