

After sharing the launch of this website in the Official Oxygen User Group, there was one part of the site in particular that seemed to get a lot of attention:

The fixed footer.
If you’re wondering what a fixed footer is, well… it’s actually a little tricky to describe.
It’s where your footer looks like it’s on a layer behind the rest of your content, and is fixed to the very bottom of the page.
Once you scroll to the bottom of your page, your content layer appears to slide up the screen, allowing the footer to reveal itself.
It looks like this:

A fixed footer is an easy way to make your site feel more premium, and stand out from a lot of sites out there.
The best part is that it can be accomplished without having to dig into heavy code or JS libraries.
Here’s how to accomplish this effect using the Oxygen site builder for WordPress.
Step 1 – Create your main header & footer template.
Oxygen > Templates > Add New.
You can either create your own or import a header and footer from Oxygen’s design library.
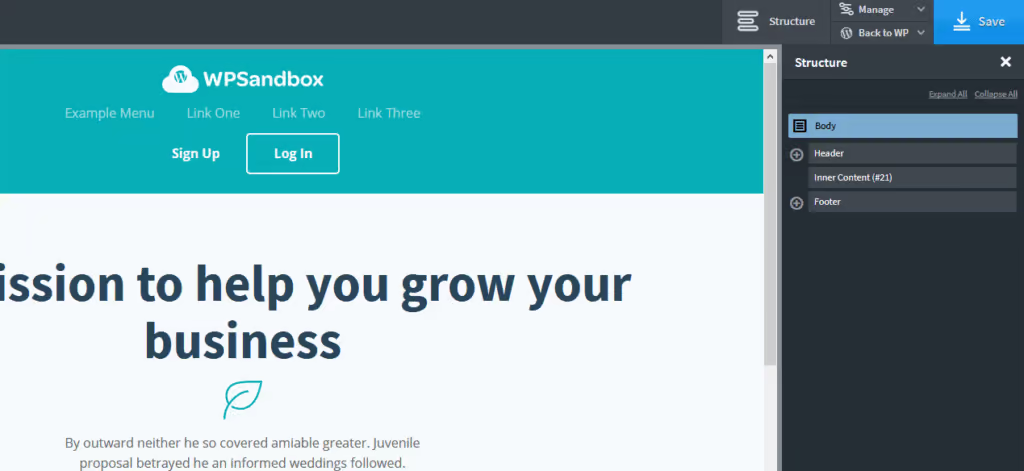
Be sure to add the Inner Content element in-between your header and footer.
Your structure at this point should look like:
Step 2 – Create an inner content container.
For this to work, we need to have all our page content in a container that’s completely separate from the footer.
Oxygen’s “Inner Content” element comes with it’s own container on pages, but not on archives, search results etc.
That means we need to create our own div to act as a container, and place the Inner Content element inside of it.
Step 3 – Create a Footer Spacer div.
Lastly, we’ll need a div to ‘create room’ at the bottom of our page for our footer.
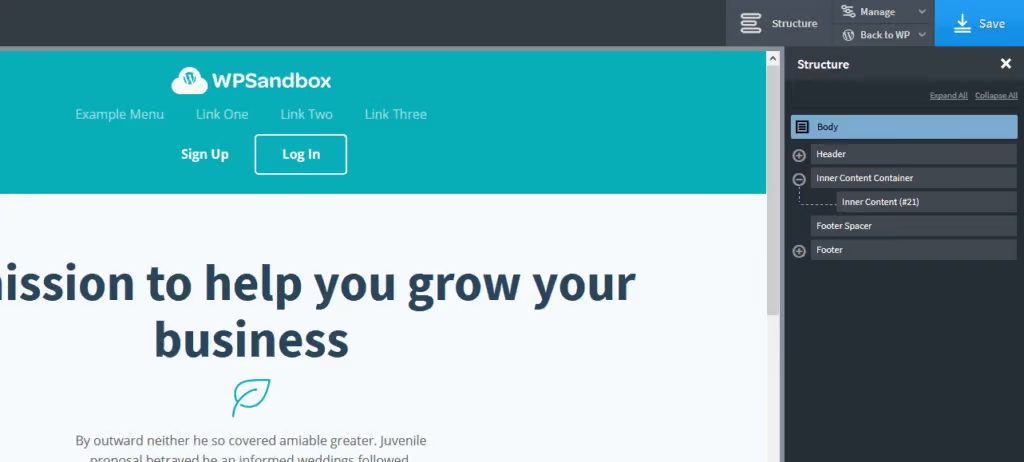
Simply create a div in-between your Inner Content Container and your Footer, and call it “Footer Spacer”.
Your page structure should now look like:
Step 4 – Add styling to your footer.
- You’ll need to specify a height for the footer. You can choose an arbitrary number (ie. 400px), see how it looks, and adjust, or use Inspect Element to more accurately gauge how tall your footer should be. Be sure to adjust the height as needed for responsive screen sizes.
- Set z-index to -1
- Set position: fixed, with Left and Bottom set to 0.
Step 5 – Add styling to the Footer Spacer.
- Set a bottom margin equal to the height you gave your footer (ie. 400px). Don’t forget to apply the margin to the responsive screen sizes as well.
- Set both the height and min-height to 0px.
- Set the width to 100%.
Step 6 – Add styling to the Inner Content Container.
- Set background to white.
- Set overflow: hidden.
That’s it!
You should now have a sweet looking fixed footer for your site.
If you got stuck anywhere along the way, be sure to check out the video above where I screen-recorded each step.
You can also download the template from the video and import it directly into your Oxygen install here.
Lastly, be sure to leave a comment below or subscribe if you found this tutorial helpful, so that I know to make more of these in the future 🙂
Thanks for reading!
*Jan 2023 Update: A reader let me know that the downloadable template wasn’t working with Oxygen 4.x. This has been fixed now.
Free Download
Get the Fixed Footer Oxygen Template
Don’t want to start from scratch? Here are the shortcodes you can import directly into Oxygen.