


Offering a paid trial can make a big impact on both your checkout’s conversion rate and your customer lifetime value.
For your customer, it provides a low-risk way for them to try your product or service before committing to a monthly subscription.
For you, it eliminates 80% of the tire-kickers.
We all know that a visitor who pulls out their wallet (even for a $1 purchase) is far more likely to become a long-term customer than someone who only signs up for a free trial.
ClickFunnels is a powerful sales funnel builder that allows you to collect sales easily, but isn’t the most flexible when it comes to payment plans – especially when using the Stripe integration.
It’s not possible to create a paid trial out of the box.
However, with a little JS and CSS magic we can make paid trials inside of ClickFunnels possible.
(And no complicated Zaps or paid software needed!).
The Solution
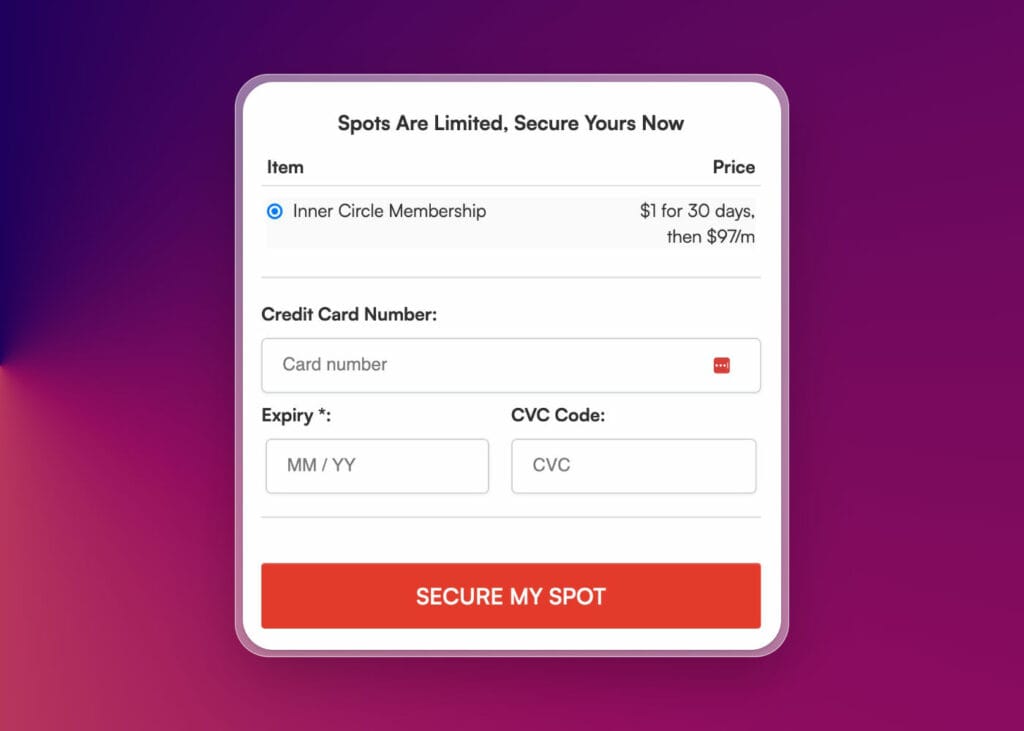
In this tutorial, we’re going to setup a $1 paid trial, and a $97/mth membership that gets billed every 30 days after that.
This of course works with whatever paid trial or monthly membership price you want to use.
For example, you can do:
Step 1
Build your checkout page, and add your full-priced membership as the main product.
Be sure to set a trial period (ex: 30 days), because we don’t want the customer getting billed the full cost on day one.
I’d also recommend setting the price description to something like “$1 for 30 days, then $97/mth.”
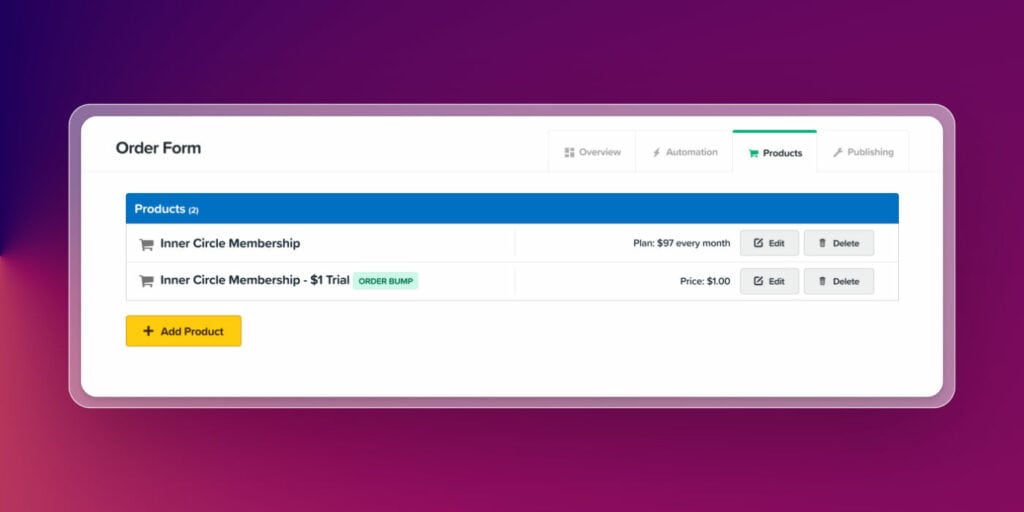
Step 2
Create another product, and set it to be an Order Bump.
Set the price to $1.
This is what will be serving as our one-time paid trial.
Your Products section should now look like this:
Step 3
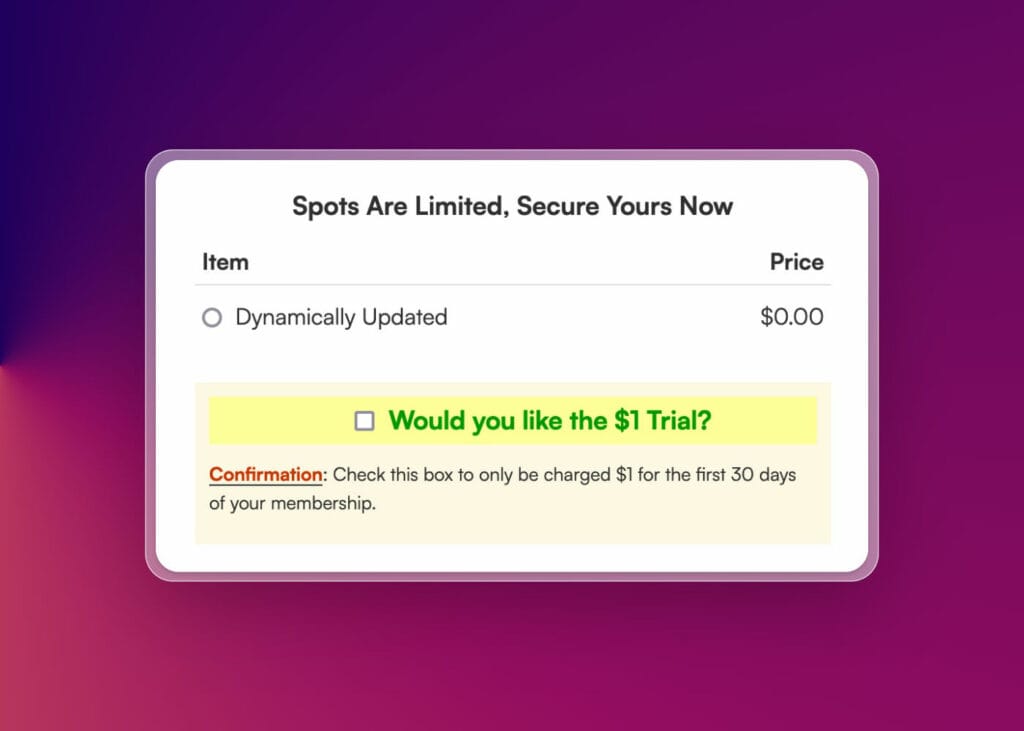
Add the order bump to your checkout form.
Even though our visitors won’t actually be seeing this order bump, it’s a good idea to change the text to something that makes sense (just in case).
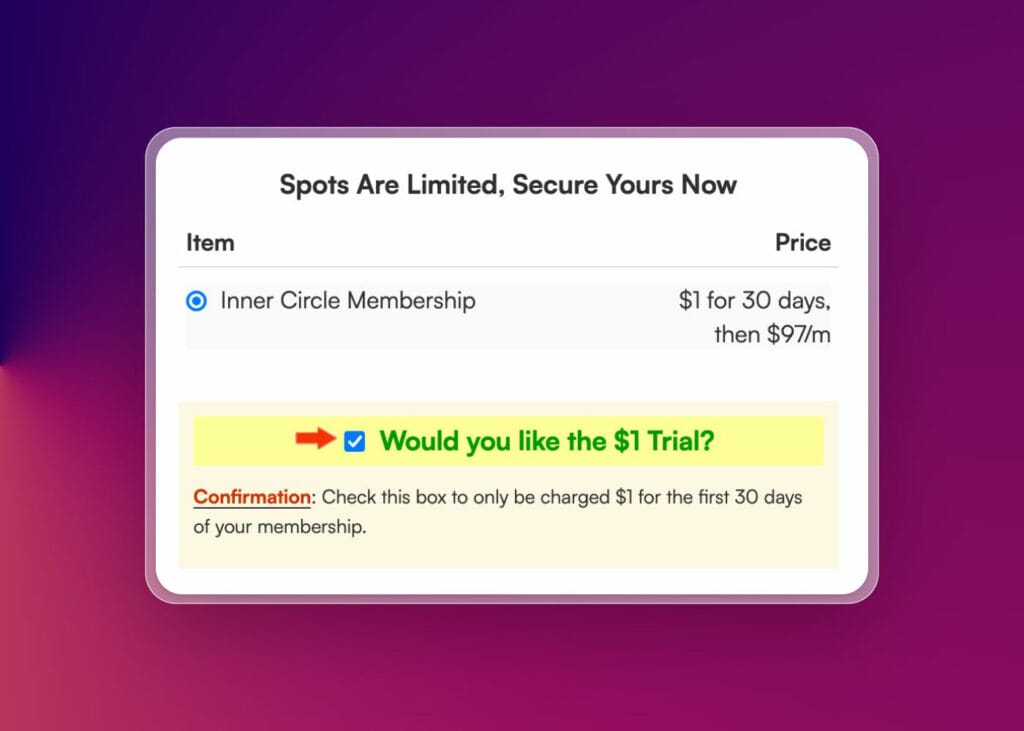
Step 4
This is where we make sure the Order Bump is automatically selected upon page load.
Add the following JavaScript code to your Tracking Code > Footer Code:
<script>
window.onload = function() {
  var bumpOfferCheckbox = document.querySelector("#bump-offer");
  if (bumpOfferCheckbox) {
    bumpOfferCheckbox.click();
  }
};
</script>
If you view your checkout on the front-end, you should see that the Order Bump box is automatically checked every time you refresh the page.
Step 5
Now it’s time to hide the order bump.
First, grab the CSS ID of the order bump element.
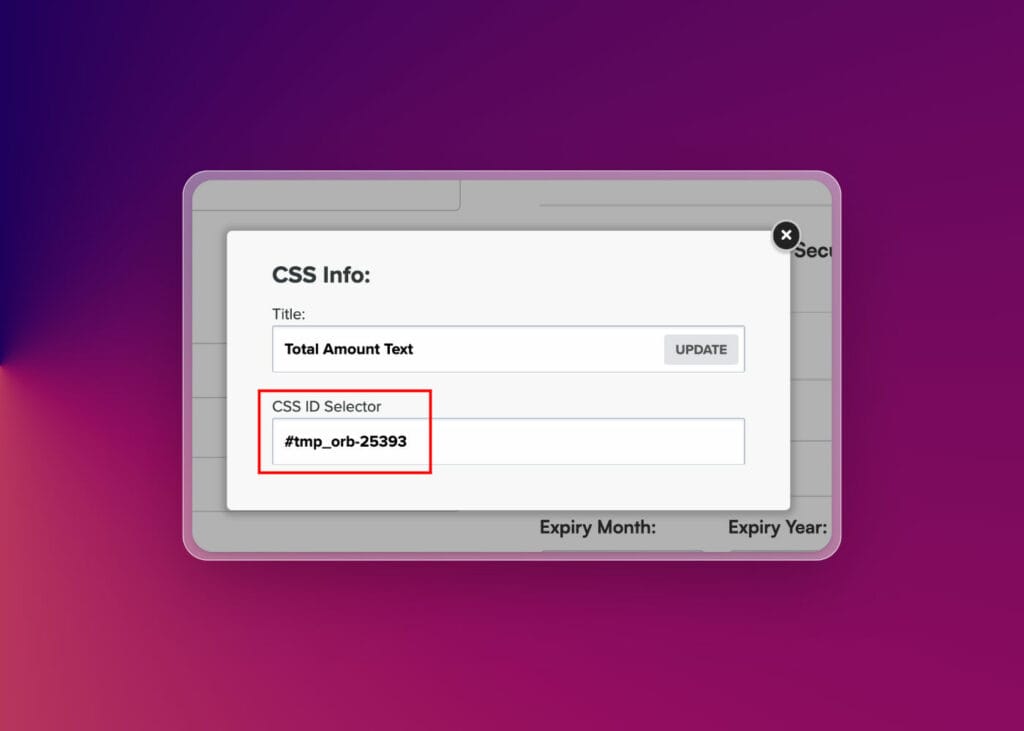
Then add the following CSS code to your Custom CSS:
/* Hide Paid Trial Order Bump */
#YOUR-ID {
  display: none;
}
You should no longer see the order bump on your checkout.
Wrapping Up
As always, make sure to give your funnel a test run to make sure everything’s working properly.
But with these five steps completed, your $1 paid trial in ClickFunnels will be set up and ready to go.
You’ll be able to attract new high-quality customers with a low-risk paid trial – without needing any external software.
Hope this helps!